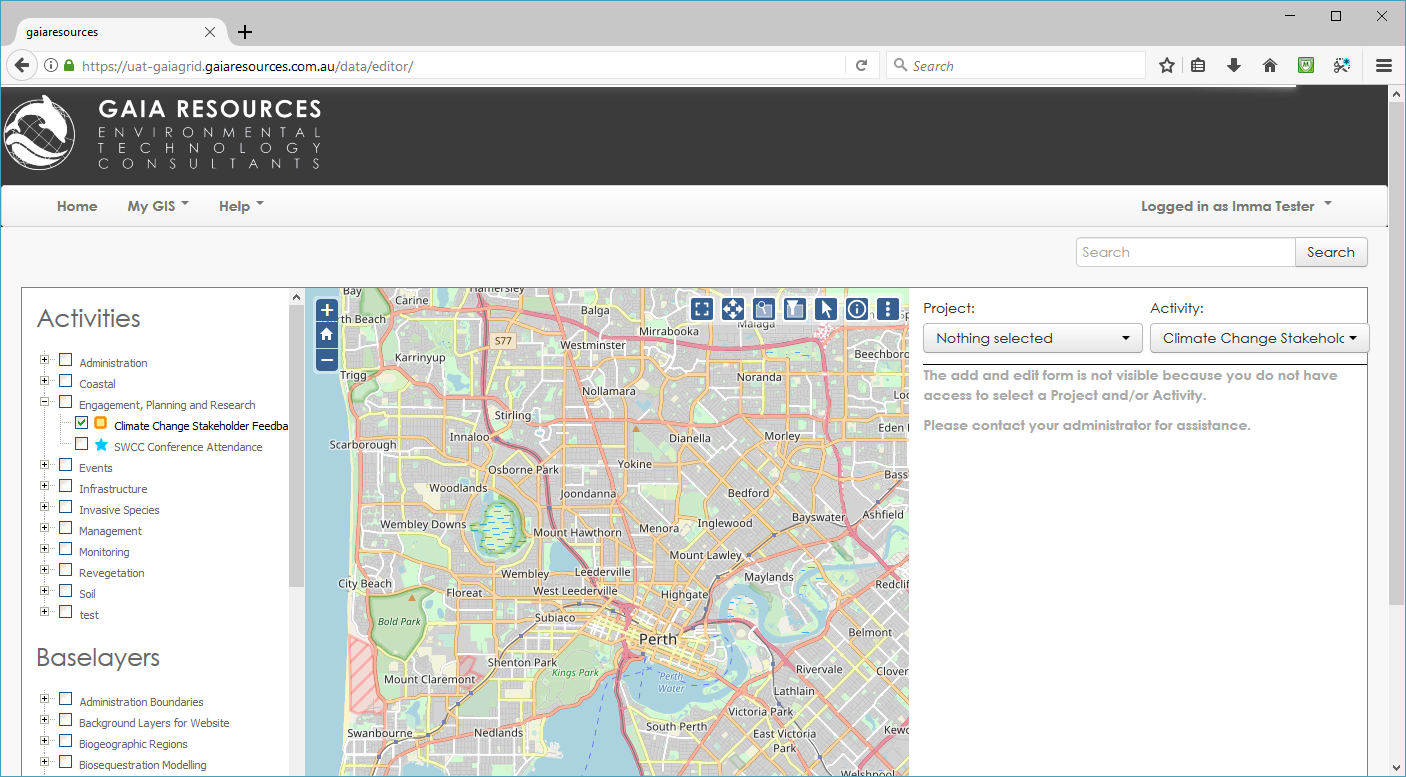
By adding a Group to a Project, the Administrator can limit who sees the Project to just those users that are within a Group. There are several reasons why this might be useful:
- Only members of that Group can add or edit features to that Project – which is useful to avoid users accidentally adding features to the wrong projects.
- Only members of that team can see the Activity points, lines and areas on the map previously added to that Project
- By adding Groups to multiple Projects, the Administrator can de-clutter the pull-down list to just the Projects that are relevant for those users’ needs.
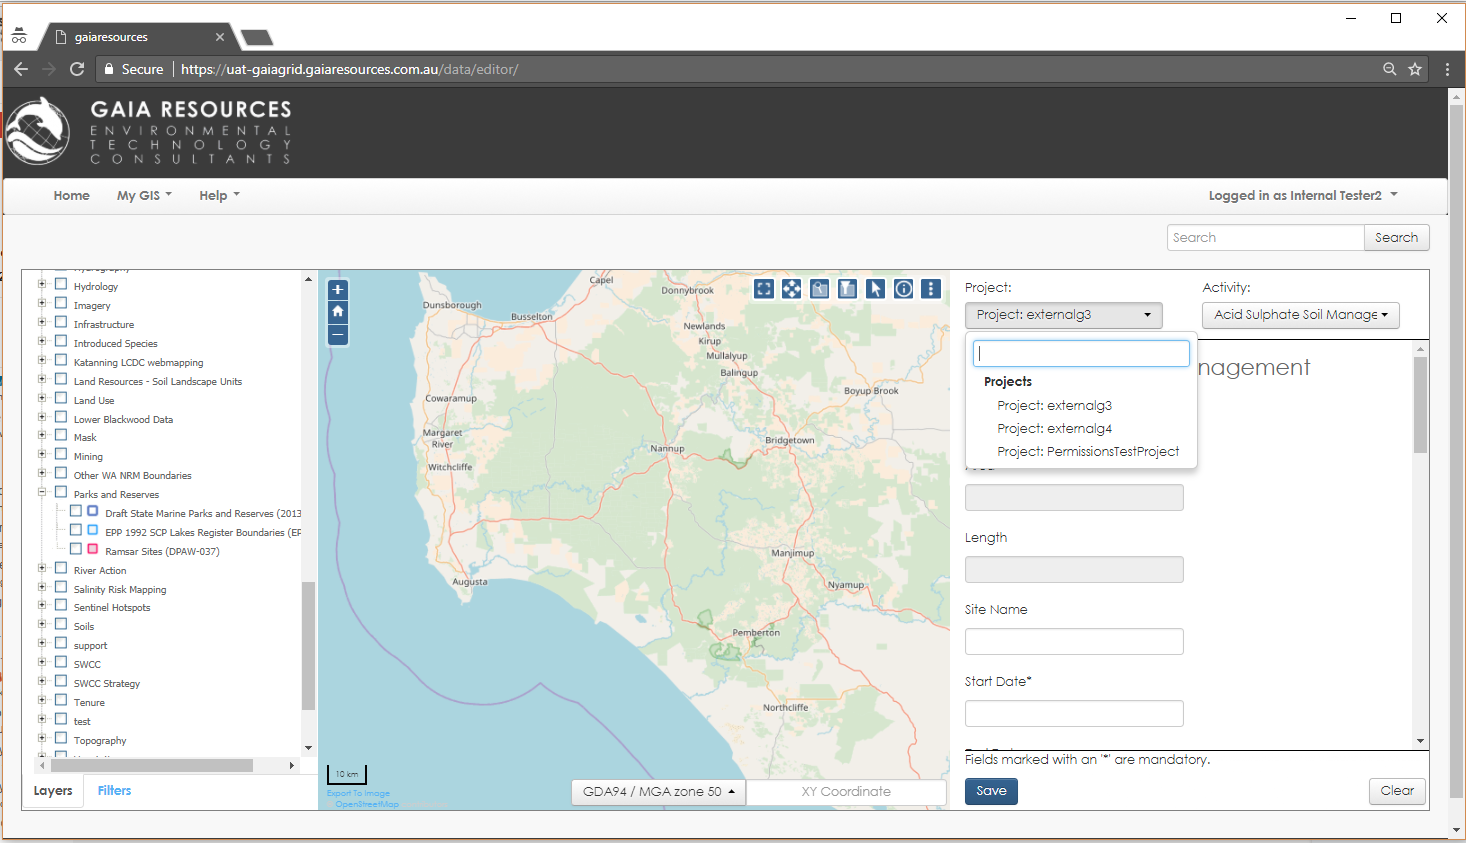 The Project list has been limited by assigning a Group to each Project.
- Sign in as an Administrator
- Select the Project option under the Admin menu.
- Create a new Project or select one for which you would like to set Group permissions.
- Note the Layer Access setting for the project (e.g. Internal, External, Public). If the Project is set to “Internal”, you will only be able to assign an Internal Group. If set to “External” you will only be able to assign an external Group.
- Select the desired Group (or multiple Groups) in the Groups field list.
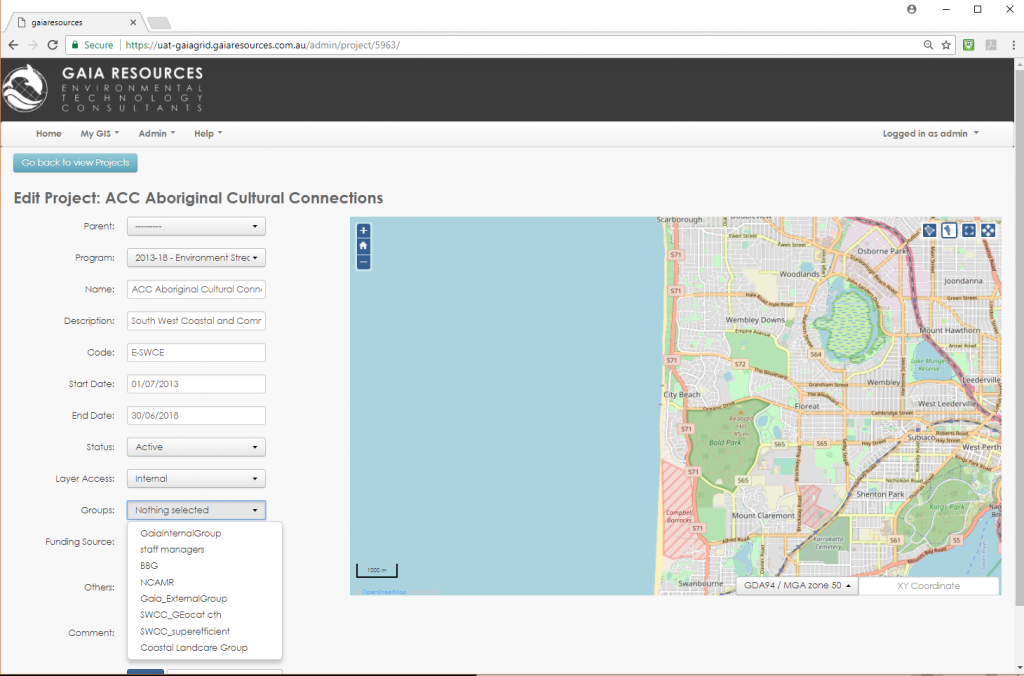 Groups established in the Groups window are available for selecting here. The Administrator can set one or many Groups.
 - Press Save. The users in your Group will now see the specified Project in their Add & Edit pull-down list.

[Note: It may be useful to maintain a test user, and add them to the Group and Project permissions you’ve applied so that you can check the change has had the desired effect