- From the Mapping and Reporting page select Map Report.
- Navigate to the area you would like to map.
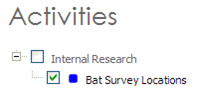
- Select the layers you would like displayed from the Table of Contents:

- Fill in the options under Map Configuration:
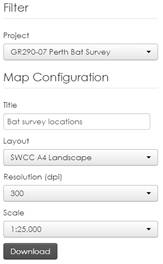
- Select the Project you would like to map (or leave blank if across multiple Projects).
- Give the map a Title.
- Select a map Layout (A4 portrait and A4 landscape are available as standard).
- Only the landscape layout has an inset
- Select a Resolution (dots per inch).
- Choose a Scale.
- You will see an orange box (showing export map extent) with blue nodes.
- If the entire map viewer is orange, choose a smaller scale until the nodes come into view.
- Choose the scale that best suites the data that you would like to map (scale sizes are preconfigured in the GRID system):
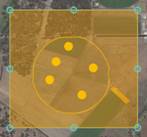
- You can also change the size of the map extent by dragging the nodes.
- You can move the entire map extent by clicking and dragging.
- Once all your options are set click Download.
- A pop up will appear (Internet Explorer), choose Save As.
- Save the pdf to your project folder.
Useful tip: you can take a screenshot of the data in the Add & Edit Data and View Data web maps by clicking on the Export to image hyperlink on the bottom left hand corner of the map: