To control the visibility of Activities, Base Layers or Projects to certain users, the Administrator first needs to create a Group. A Group is a collection of users with a common access requirement.
In GRID, a Group can either contain Internal or External users but not both types.
- Sign in as an Administrator.
- Select Groups from the Admin menu.

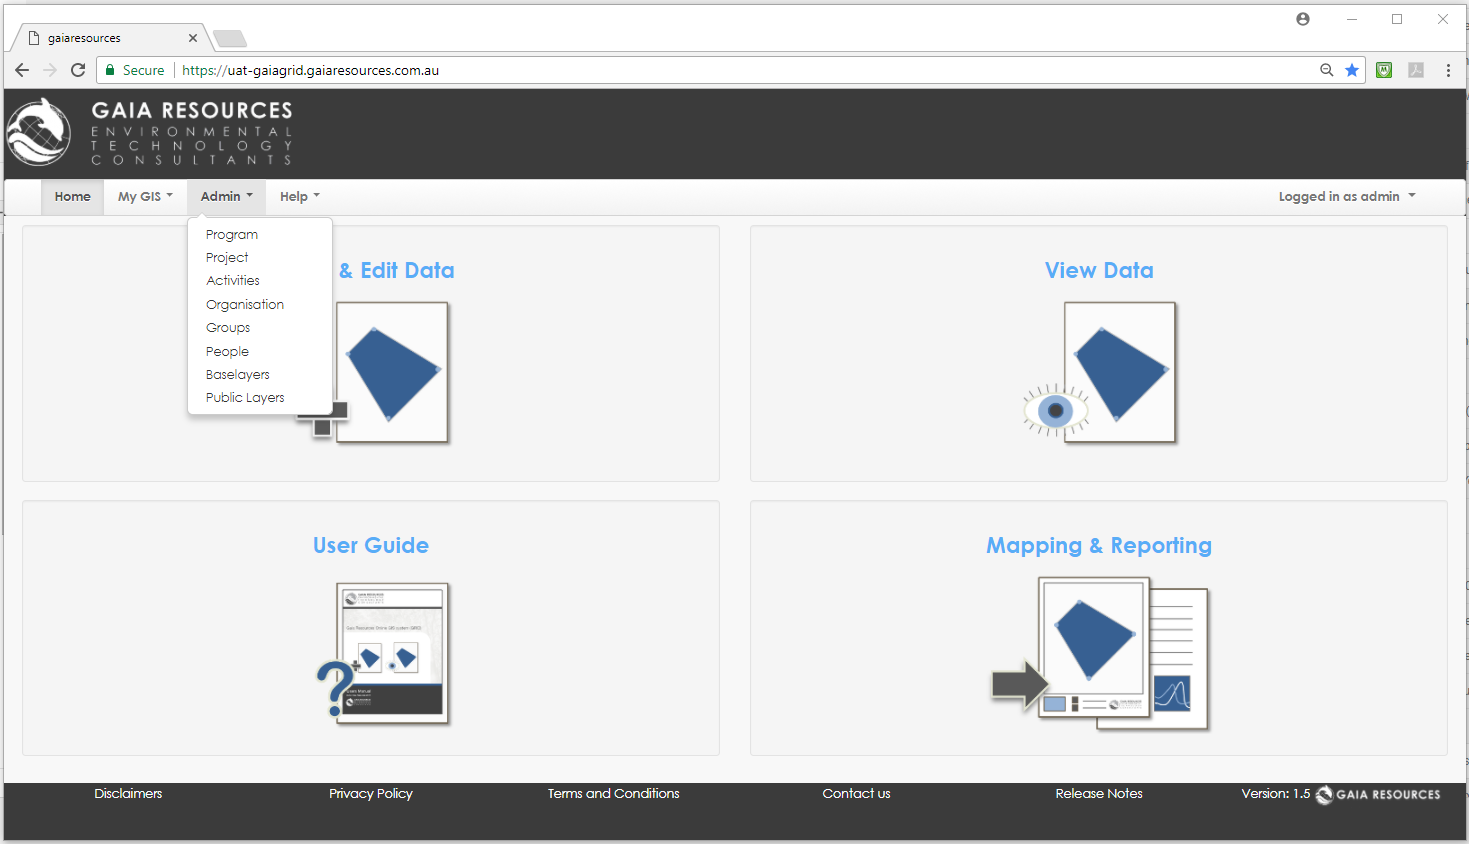
The Groups window is page available to the Administrator.
- Click on Add New Group.
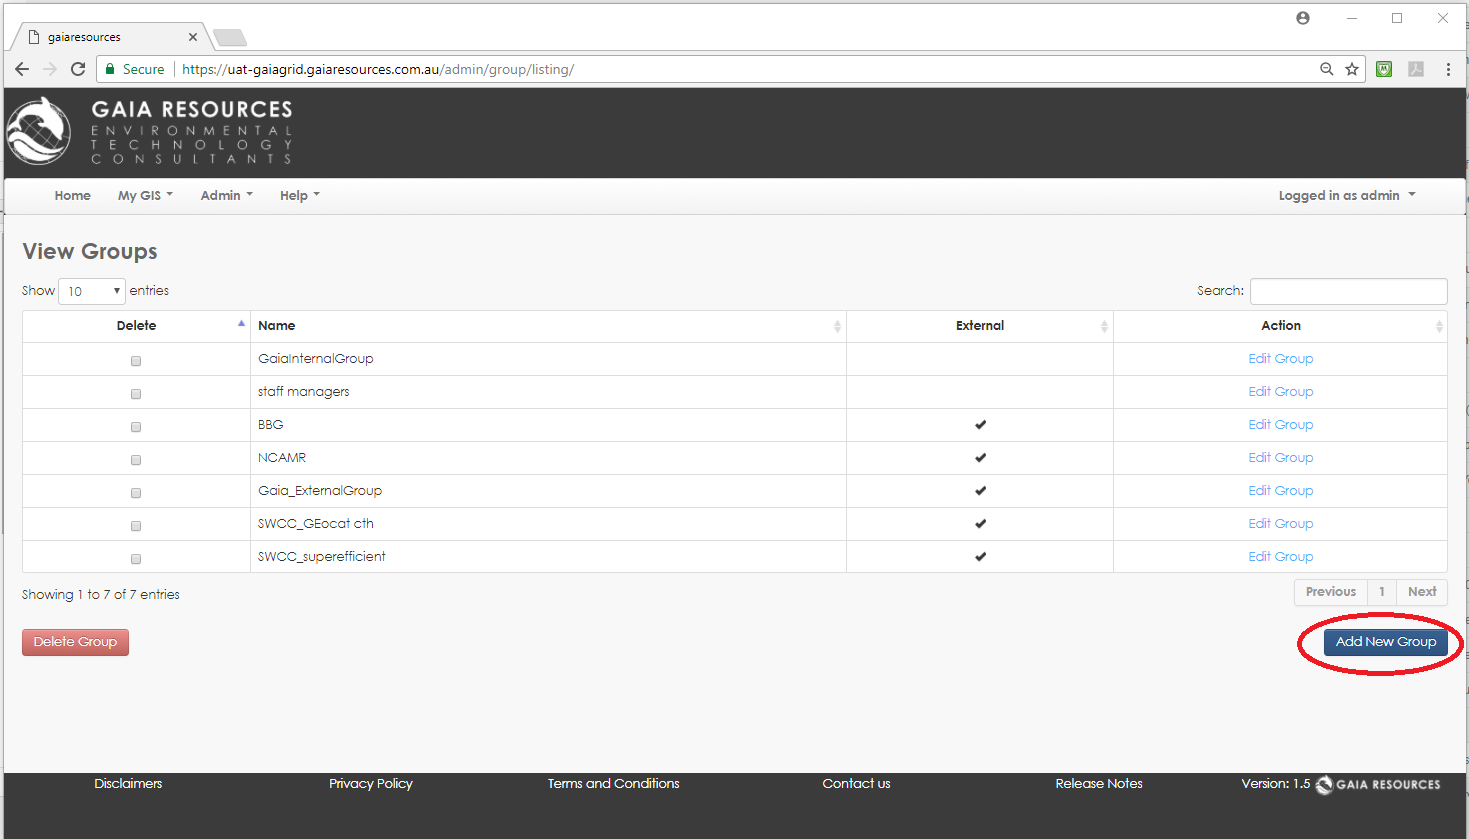 A list of Groups can be seen in the Groups window.
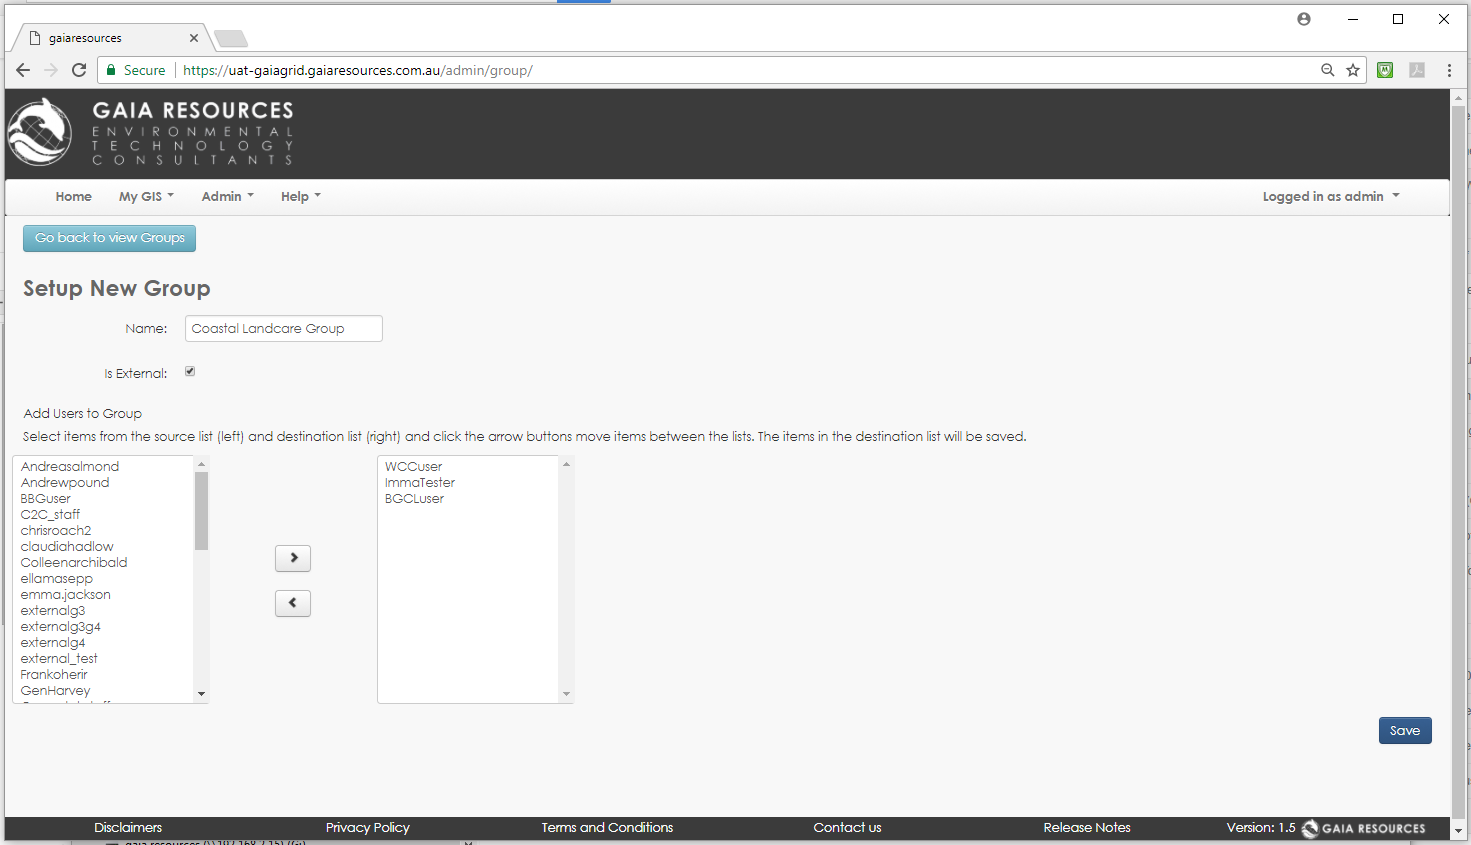
- Give the Group a name. It is recommended the name is something that describes the purpose of the Group (e.g. Coastal Landcare Group).
- If the Group is intended to be for External user permissions, click the Is External tick box. When this is left unticked, the Group will be saved as Internal.
- Select people who will be in this Group and use the > button to move them across. Note that the available names in the left list reflect the internal or external users registered in GRID, depending on whether Is External has been ticked or not. By extension, the Administrator cannot add an external user to an internal Group, and vice-versa.
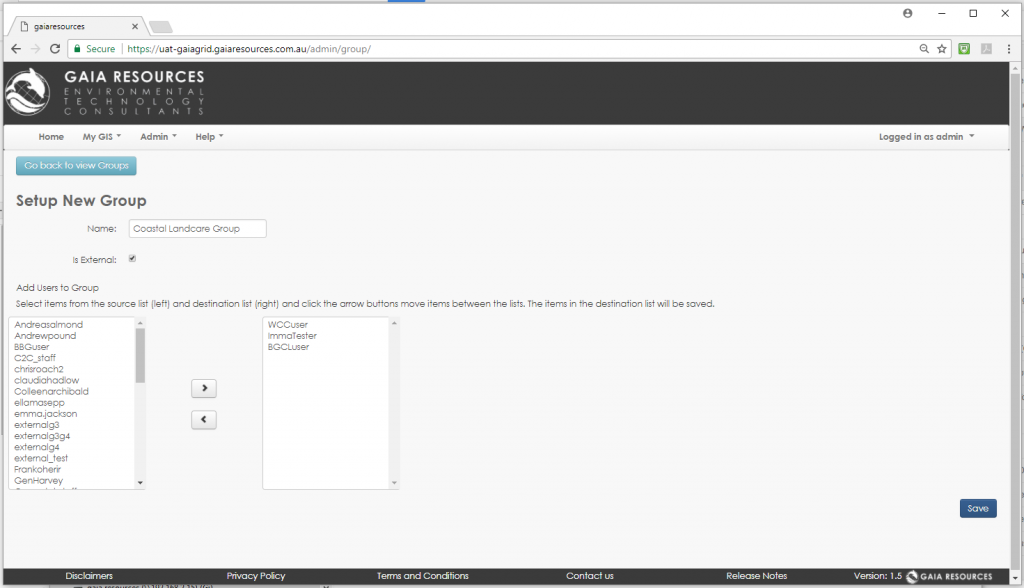 The Administrator adds users as members of a Group in the Setup window.
 - Press Save.
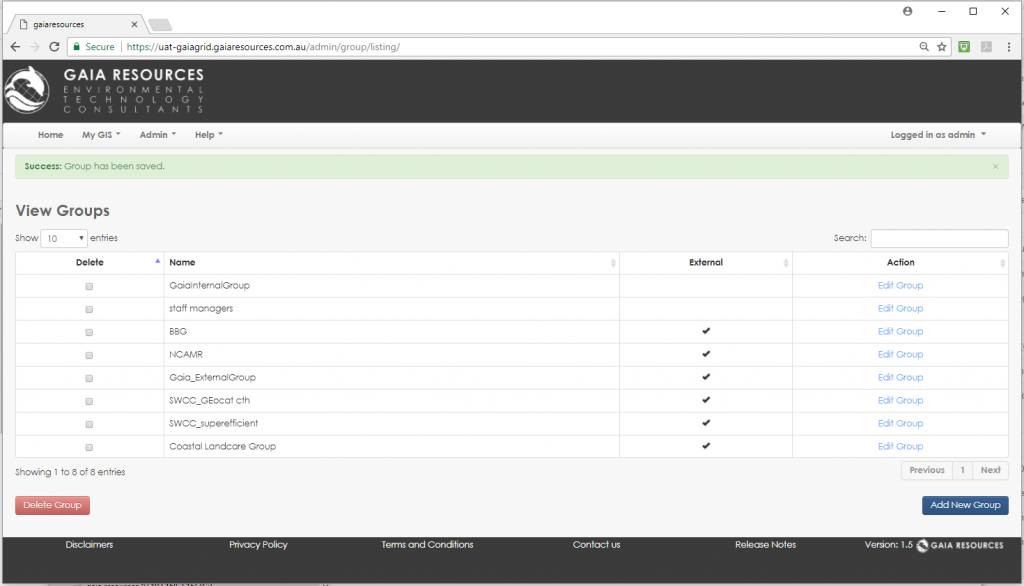 A new Group appears in the list and can be edited or deleted.

[Note: Individuals can be added to more than one Group. While this may be desired in some circumstances, it is recommended that the Administrator plan and review Group settings on a regular basis to avoid the introduction of unexpected access behaviour.]