- Ensure all data validation rules have been adhered to.
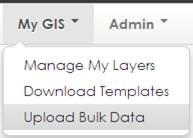
- Click on Upload Bulk Data from the My GIS menu item:
- Select your Project and Activity:
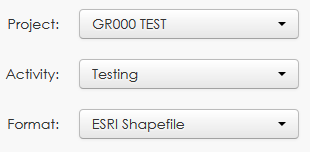
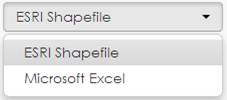
- Select your Format of the file that you are uploading:
- Select Browse and navigate to your file to be uploaded. Once selected click Open.
NOTE: Ensure all the files are contained in a zipped file – for a successful upload all shapefile templates originally downloaded for an activity must be in the final zipped file (even if they are blank). - Click Upload.

- If the data does not validate correctly, you will receive an error message explaining the issue, and the offending record will appear.
NOTE: Error messages are usually descriptive to what the issue is.

- It is good practice to delete the zip file that failed.
- Correct the error(s), zip the files again, and retry the upload. Common mistakes when uploading are detailed in 7.7 Troubleshooting, and include:
o Data in the zip file is contained within a folder
o Data in the zip file do not contain all the shapefile templates (if the downloaded data template contains 3 shapefiles, all 3 shapefiles need to be uploaded – even if empty)
o The template shapefile name has been changed (this name needs to be the same as the downloaded template name)
o The shapefile fields/ columns are different from the template (sometimes this occurs when a template has been updated, but a user has an old version of the data)
o Mandatory fields within your data have not been completed
o Selection fields in your data do not contain the values as specified in the data’s legend.xls - You will receive feedback when the upload has been successful:

- Your data will now appear on GRID: