This Section is for those staff who have not used a Template Shapefile downloaded from GRID to populate their field data (historical data). If you would like to download and use a Template Shapefile go to Section 7.2.
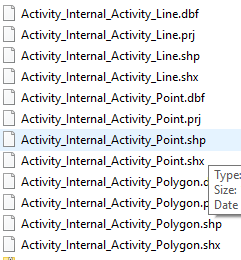
- Download the Template shapefile(s) corresponding to your activity (see Section 7.2). There can be multiple shapefiles for one activity (i.e polyline and point shapefile templates).
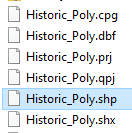
- Save the Template Shapefile in the same folder as your Source Shapefile (the shapefile containing your raw field data).
- Open QGIS.
- Ensure your QGIS Workspace is in the right projection (the same as GRID’s Template Shapefiles – GDA94 MGA Zone 50):
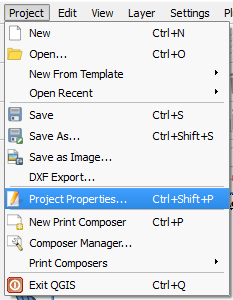
- Go to Project > Project Properties.
- Check the box Enable ‘on the fly’ CRS transformation.

- Start typing “GDA94 / MGA zone 50” in the filter.
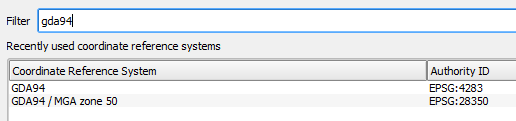
- Select GDA94 / MGA zone 50 from the Coordinate reference systems of the world list or the Recently used coordinate reference systems list, click OK.

- Click Add Vector Layer
 and Browse
  to find your Source Shapefile.
- Click Open
 to add to QGIS.
- Go to Project > Project Properties.
- Ensure your Source shapefile has the same projection as GRID’s Template Shapefiles:
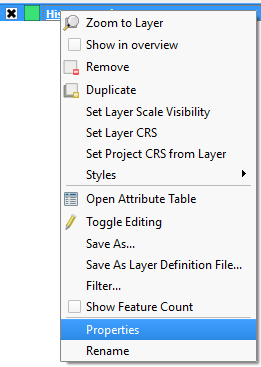
- Right click the Source Shapefile, click Properties, then click the General.
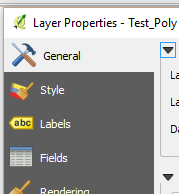
- If the Source Shapefile is GDA94 / MGA zone 50 go to Step 21, if not continue on.
- Cancel
 the Layer Properties dialog box.
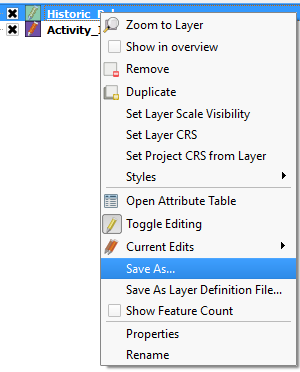
 - Right click on the Source Shapefile again and click Save As.
- Click Browse opposite Save As, navigate to the folder with the Template Shapefile and give it a name (i.e. Historic_Poly_MGA50.shp).
- Click Save
 .
. - Click the CRS browse button
 (opposite CRS) and start typing “GDA94 / MGA zone 50” in the filter.
 - Select GDA94 / MGA zone 50, then click OK
 .
.
- Ensure the Add Saved File to Map box is checked
 .
. - Click OK again to save the new shapefile.
- Right click the Source Shapefile, click Properties, then click the General.
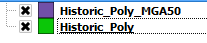
- You now have a Source Shapefile (with your project data) in the same projection as the Template Shapefile.
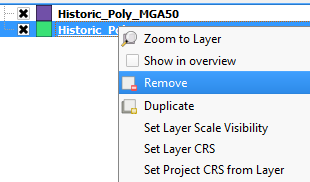
- Delete the original historic data layer from the workspace.
- Click Add Vector Layer and Browse to find the corresponding Template Shapefile.
- Click Open to add to QGIS as a layer.

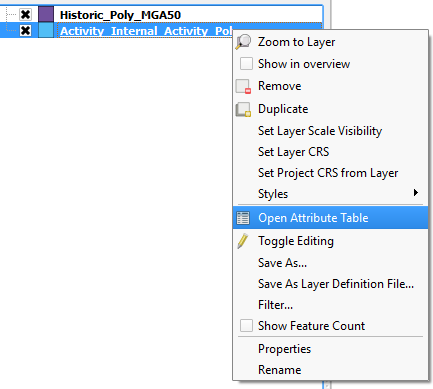
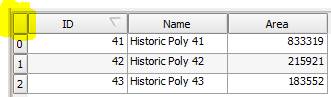
- Right click on your Source shapefile (historic data) in the Layers list. Click Open Attribute Table.
- Make sure you have an ID field in your Source shapefile (if you do go to Step 30).
- If not, from the Attribute Table click on Edit
 and New Column
  .
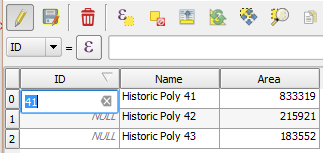
. - Name the field “ID” (must be in capital letters) and give it a Type of Whole Number (integer). Click OK .
- Make sure you have unique integers (i.e. 1, 2, 3…) for each record in your ID field (they do not have to be sequential).
- If not, double click on a cell to change the number(s) so they are all unique.
- If not, double click on a cell to change the number(s) so they are all unique.
- Click Edit to end the editing session and Save to save the changes.
- You are now ready to copy your Source (historic) data to the Template shapefile.
- Right click on your Source shapefile and open the Attribute Table.
- Clicking Edit .
- Click the top right corner of the table to Select All.
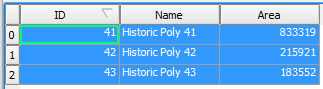
- Click the Copy selected rows to the clipboard icon
 from the Toolbar.
 - Close the Attributes Table of your Source shapefile.
- Select your Template shapefile from the layers list, ensuring it is highlighted.

- Turn on Editing Mode for this layer from the Toolbar
 .
. - Go to Edit > Paste Features.
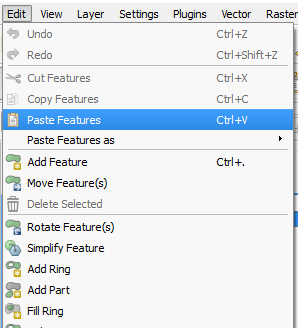
- You will see a message stating the features were successfully pasted.

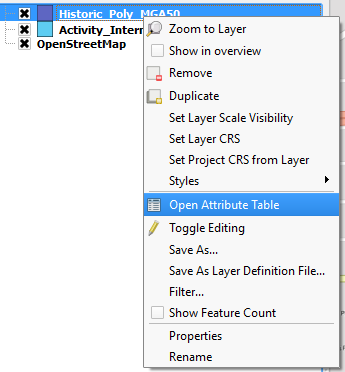
- Right click on the Template layer and select Open Attributes Table.
- The features form your source shapefile should now appear in the Attributes table.

- You can now populate the Attributes Table for your historic features (see Section 7.3.3).