Ensure your existing geometry (Source Shapefile) is appended to the Template Shapefile (Section 7.3.2) before continuing with this section (i.e. check ID field in attributes, visually check geometry).
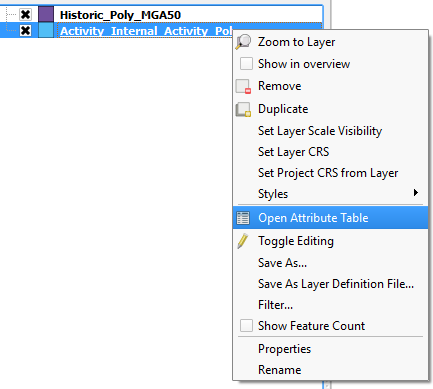
- Right click on your merged Template shapefile under Layers. Click Open Attribute Table.
- Click Edit
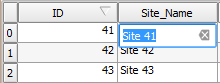
 and double click on any cell to manually change the details.
- Note that fields in shapefiles have data validation rules – you can’t add an integer to a text field or a date field to an integer field etc. See Section 7.4 for rules on Data Validation for Template Shapefiles.
- To make data entry easier you can change a selection of cells all at once:
- From the Attribute Table select the fields you would like to edit by clicking on the row number (hold shift to select multiple rows).
- Click Edit and Select Field Calculator
 .
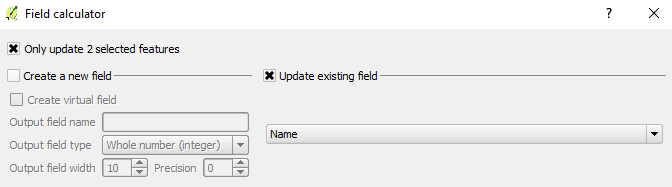
. - Check Only update selected features.
- Check Update existing field.
- Select the field/ column you would like to change from the drop down menu (e.g. ‘Name’).
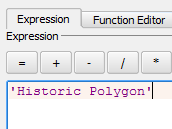
- For text fields, type text in ‘inverted comas’ in the expression box to change all the selected fields to your specified text.
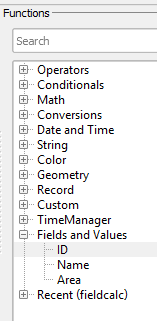
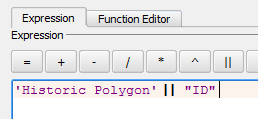
- You can give fields unique names by adding a string of text to the unique ID. Type your text in ‘inverted commas’, click the
 symbol then chose the ‘ID’ field under the Fields and Values function list.

- You can populate Date fields by writing ‘dd/mm/yyyy’ in the expression field, or populate number fields by leaving out the inverted commas.
- Click OK
 .
.
- To stop editing the shapefile attributes click Edit and Save
 .
.