You will be creating a workspace in QGIS from which to populate your shapefile, using Legend.xls as a guide to filling out fields.
- Open QGIS.
- Click Add Vector Layer
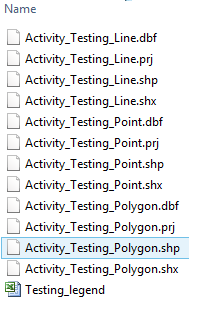
 , Browse to find the Template shapefile and click Open to add to QGIS as a layer (choose the file with .shp extension):
- Once loaded in QGIS, click on the layer to activate it
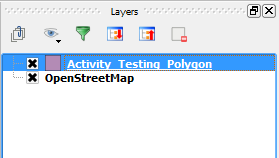
and start an editing session by clicking Edit from the top tool bar.
 - Select Add Feature (polygon
 , lines
  , points
  depending on the template geometry).
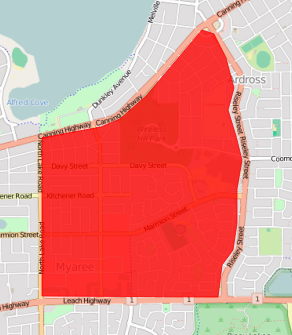
 - For a line or polygon, start creating your feature by left clicking vertices on the map canvas. For a point, select the location you want to record your data.
Right click to finish the feature (points are just a single click to the map canvas).
- An attributes dialog box will appear. Complete all the attribute details you can for the feature (check the legend to see which fields are mandatory):

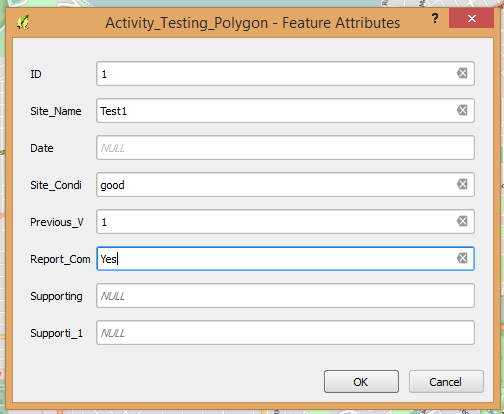
NOTE: Refer to section 7.4 Data Validation for Template Shapefiles for data validation rules (i.e. the full attribute names, drop down menu options, field types, mandatory fields etc.).
- Click OK.
- Repeat steps 11 to 15 until all your data is captured.
- Click Edit then Save
 to save all your changes.
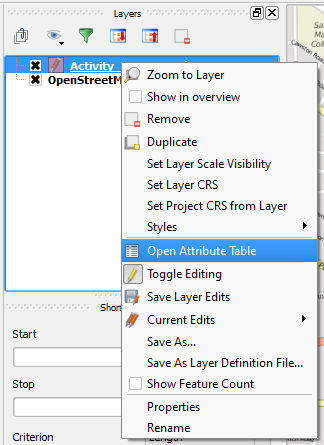
 - If you need to edit attributes from the attribute table, right click on your layer name in the table of contents, then click Open Attribute Table:
- Click Edit from the attribute table and double click on a cell to change the details.
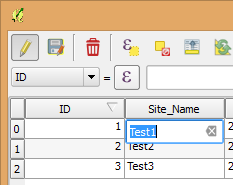
- Click Edit again and Save when finished.